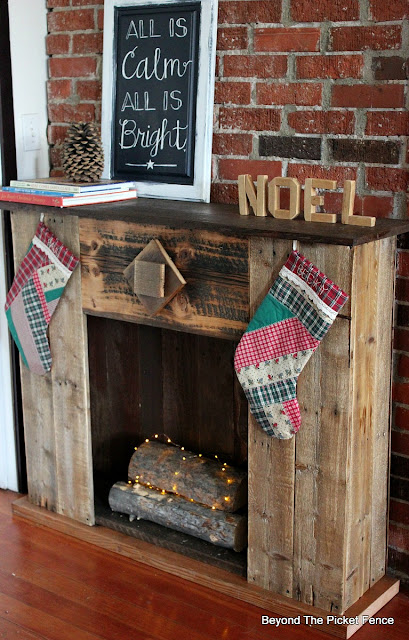
After a busy week of getting things made for a Christmas show I sold at on Saturday, I am finally back with Day 2's project for my annual 12 Days of Christmas!

...and the stockings were hung by the chimney with care. Wait, you don't have a chimney? Neither do I, well not really. i have a brick wall and chimney that lead to my basement wood stove (it was originally for the coal burning furnace that heated our old schoolhouse back in the day). And I have a propane fireplace that is a modern metal tube (yech!) that has no mantel.
So what is a good stockin' hangin' girl to do?? Why make one of course!

I feel like I need a disclaimer: this is a more elaborate project (you have plenty of time to make it before Christmas) and will be the biggest, most "technical" project I will be sharing for 12 Days of Christmas. It is really basic building 101--straight cuts and screws, but I wanted you to know I will be offering projects for the non-builders too!

What I love about a faux fireplace is that it adds so much darn ambiance and personality to a room. It is a fantastic Christmas prop and the kids will love it! The mantel works great as a shelf and this faux fireplace is small enough that you can store it if you don't want to use it year round.
Now, like so many of my projects, this one was a build and learn as I go kind of a deal! And I took pictures as I built it, but would probably do a few things differently in the future.
For the hearth, I started with a 4 foot long 2"x10" board that was level, not warped and had some heft to it to anchor the fireplace. To this I added a 1"x 8" board that was probably about 3' 8" long. I placed it so it was flush with the back of the 2"x10" board.

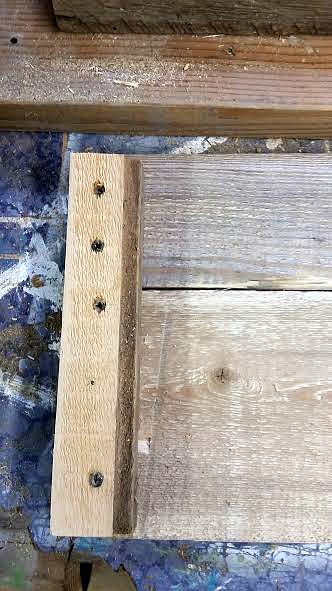
Next, create the mantel sides. I used a wide (5 1/2") pallet board and a skinnier (3 1/2") one and joined them together at the top with a small (about 2"x2" board).

I then secured the mantel sides to the 1"x 9" board that was screwed to the "hearth".

Add two wide (5 1/2") pallet boards to the front of the fireplace by securing them to the front of the same 1'x9" board you secured the sides to. You do not need to add a board at the top of these to join them like you did to the side pieces. I made these 39" tall.
Now lay the fireplace on its front side (does that make sense?) and measure the distance between your front pieces. Add two braces or boards to the inside front that will join the two front boards on either side. I used some MDF trim boards that someone gave me. NOT my favorite material, but they are sturdy and do not show at all.

Then measure the open distance between the front vertical boards--your fireplace opening, and add a board, securing it to the braces. I used a piece of barnwood.
I also added a brace (which, as you can see, could have been a little longer, but this worked) to join the side pieces on the back, across the top. This is needed to attach the boards for the back of the fireplace to. This is the part I probably would have done differently. I think I would have made a rectangle out of 2'x4" 's to use as the top brace. Then I could have attached the sides and front and back to it.

I used pallet boards for the back and I stained them dark for the dark look of a sooty fireplace. I then screwed them to the 2"x10" hearth board and to that back top brace I secured to the sides.
The mantel is added last. I used a great, live edge piece of barnwood that I secured to the top braces by screwing down through the top of the mantel board. Because I stained it dark, you don't even see the screws.

I decided the front needed a little more so I added a little decoration by screwing it in place from the inside.

Place some logs and twinkle lights inside your fireplace--I did drill a hole in the back for a plug for lights--and you now have the perfect place to hang the stockings. Perfect and cozy, but I am not sure how you explain to the kids how Santa gets down this chimney...
#

