The construction of the golu padi has been a study in structural engineering each year. Tired of pulling out cardboard boxes from storage and delicately balancing various boxes, desks and chairs in an attempt to make several parallel surfaces, this year we decided to put an end to this chore permanently by building a dedicated golu padi.

My requirements for the project were as follows:
I decided to go with 5 steps, but you can scale this up as required.
A trip down to the local hardware store (Lowes, in this case) fetched the following:
(2) A - 72"L x 12"W Shelf
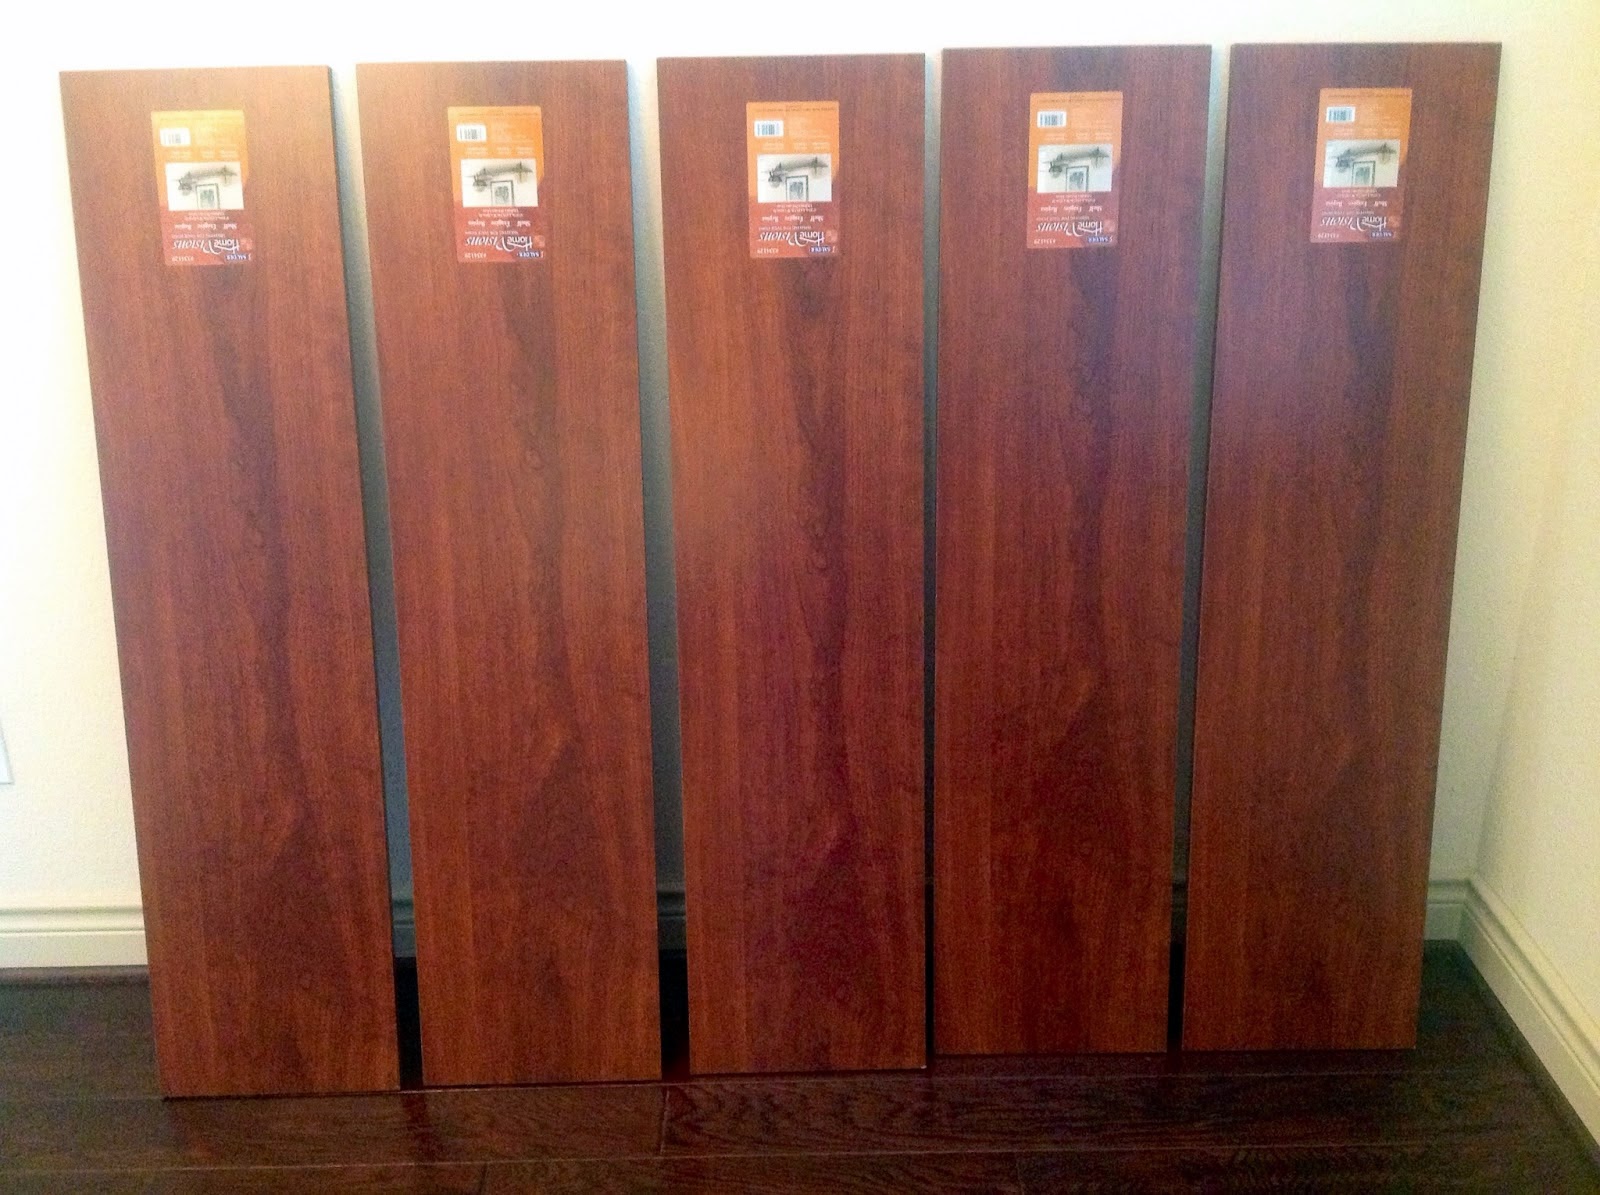
(5) B - 48"L x 12"W Shelf
(2) C - 48"L x 4"W x 1"D Lumber
(2) D - 48"L x 2"W x 2"D Lumber
(4) E - L-Bracket
(10) 1/4" Bolt, washers and nuts
Total cost: $80
Tips:
- If you don't care about the looks, you can use cheap lumber and reduce project cost significantly.
- If you don't want to cut any wood, you can take shortcuts by buying stair stringers (or risers) directly instead of the shelf material for side support. You'll find them in local hardware stores (Lowes, Home Depot etc.). I decided to use Cherry laminate shelves for custom sizes and neat look.
- Using bolts instead of screws makes it easy to dismantle for storage

Step 2 - Pre-drill 1/4" holes and attach the L-bracket to the base on either side of (A) and (C) using the 1/4" bolts. I decided to use the bolts and not screw them in so that I can dismantle it for storage.

Step 3 - Repeat the same at the top of (A).

Step 4 - Pre-drill 1/4" hole and attach (D) to make a flexible stand. Since the bottom end of (D) acts as a prop, it is easy to make the steps horizontal even if you have an uneven or sloping floor.


Step 5 - Simply place the 5 shelves (B) on each step (it's not even necessary to screw them in).

It takes less than 5 mins to set it up or take it apart (just unscrew/screw 4 bolts) and much less space to store until next year!


